Reprinted with permission from the New York Institute of Photography website.
Most photographs taken at a hockey game show the entire rink and tiny figures in action — if you can see them at all. Other than proving you were at the game, this type of picture really has little to say.
And this is the problem if you try to take a picture from your seat “way up there” using your SLR’s normal lens or with a point-and-shoot. Our opinion: don’t waste your time.
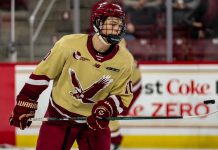
What type of picture are you looking for? A strong, closeup action shot is much better.
How do you get such a picture? Here are some pointers from Chuck DeLaney, Dean of the New York Institute of Photography (NYI), the world’s largest photography school.
1. You have a better chance to get close to the action in a peewee, high school or college game. Chances are you won’t get on the sidelines at a professional game.
2. Generally, don’t position yourself behind the goal because most of your pictures will show the goalie’s back rather than the action.
3. Since hockey action occurs all over the rink, position yourself on the side, but toward one of the goals.
4. Watch out for reflections in the glass panel separating you from the action. If you use an autofocus camera, make sure it’s focusing on the action, not on the glass.
5. Don’t forget to look for reaction shots, too. Yes, the action on the field during the battle may be intense. But many a great picture of tragedy and triumph occurs after play is over — or even in the stands.


